A GFCI outlet that won’t reset or suddenly stops working is one of the most common electrical issues in residential and light commercial environments. In many cases, the problem is not the circuit itself—it’s the outlet reaching the end of its service life.
Replacing a GFCI outlet is a manageable task if the wiring is straightforward and the installer understands the basics. However, this is not the same as replacing a standard receptacle. The presence of line and load terminals introduces an additional layer of responsibility.
This guide walks through the process from a practical, field-oriented perspective. The goal is simple: replace the outlet safely, wire it correctly, and avoid the common failure points.
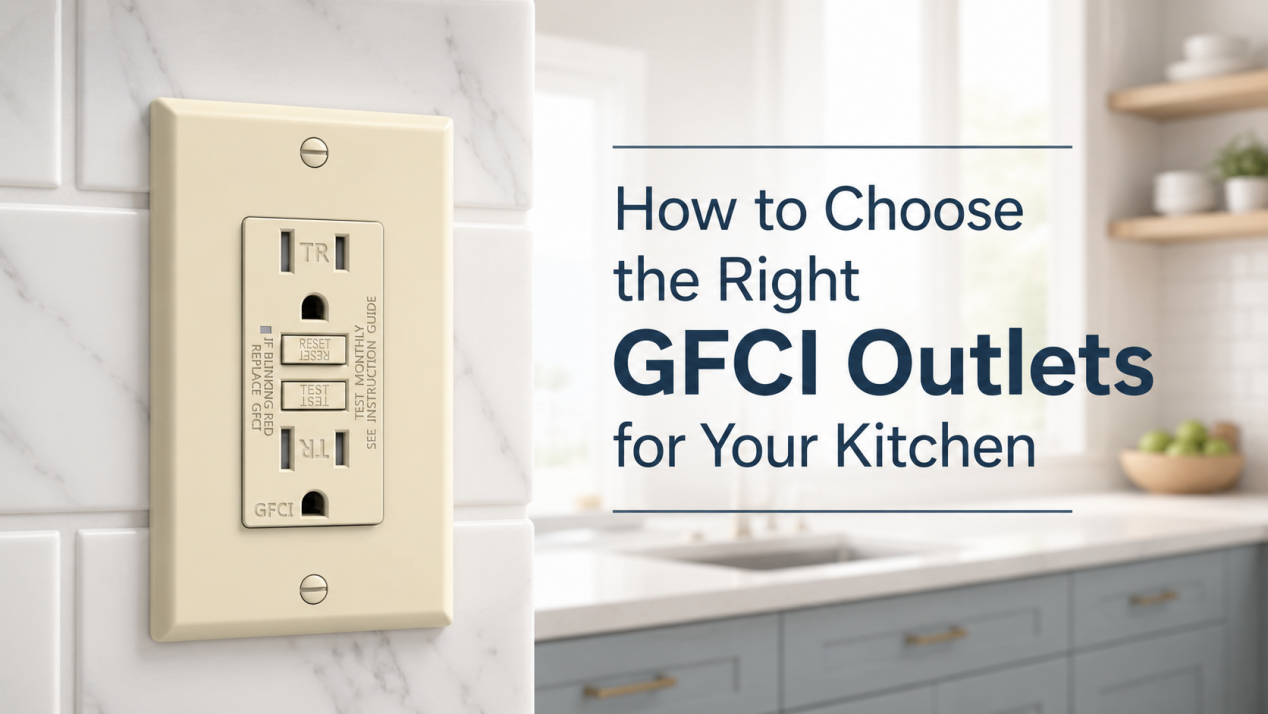
What Is a GFCI Outlet and Why It Matters
A GFCI, or Ground Fault Circuit Interrupter, monitors current between hot and neutral. If it detects an imbalance of about 5 mA—meaning current leaks to ground—it trips and cuts power in milliseconds. This prevents shocks in wet locations.
The National Electrical Code (NEC) requires GFCI protection in kitchens, bathrooms, garages, basements, laundry areas, outdoors, and near pools or sinks. In the 2026 NEC, Section 210.8(F) expanded outdoor outlet GFCI requirements to single-phase branch circuits rated 60 A or less (up from 50 A). The temporary exception for listed HVAC equipment ends September 1, 2026; after that date, new outdoor HVAC installations need GFCI protection, often with HF-rated (high-frequency) Class A devices for variable-speed or inverter systems to avoid nuisance tripping.
Replace a GFCI when it won’t reset, the TEST button fails, the LED doesn’t light, or it trips too often without cause. Most last 10-15 years under normal use. A bad one leaves the circuit unprotected.
Tools and Materials You’ll Need to Replace a GFCI Outlet
Gather everything before you start. Missing tools mid-job wastes time.
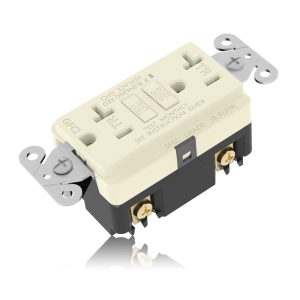
- New UL/ETL listed GFCI receptacle (15 A or 20 A to match the circuit; check the breaker label)
- Non-contact voltage tester
- Receptacle tester (3-prong outlet tester)
- Insulated flathead and Phillips screwdrivers
- Wire strippers or electrician’s pliers
- Needle-nose pliers (for tight loops)
- Insulated gloves
- Safety glasses
- Electrical tape (optional for extra security)
- Wire nuts (if pigtailing)
- Small flashlight
We recommend tamper-resistant (TR) models with LED indicators and back-wire options for faster installs. Faith Electric GFCIs include these features standard.
Important Safety Tips Before You Start
Electricity does not forgive mistakes. Follow these every time.
Turn off the breaker that feeds the outlet. Label it clearly so no one flips it back on.
Use the non-contact voltage tester on the outlet slots and exposed wires. Then plug in a small lamp or use the receptacle tester to confirm zero power.
Wear insulated gloves and safety glasses. Work on dry surfaces. Avoid metal ladders or wet floors.
Check local codes. Some jurisdictions require permits or licensed work for electrical jobs.
If you see scorch marks, melted insulation, aluminum wiring, or crowded box, stop. Call a professional. Continuing risks fire or shock.
Step-by-Step Guide to Replacing a GFCI Outlet
Follow these steps in order.
- Remove the faceplate. Use the screwdriver to take out the two screws. Set the plate aside.
- Unscrew the mounting screws holding the receptacle to the box. Gently pull the unit out. Do not yank wires.
- Take clear photos from multiple angles showing all connections. This is the single best way to avoid mix-ups later.
- Disconnect the wires. Loosen the ground screw first (green), then neutral (silver, white wires), then hot (brass, black wires). Note LINE vs LOAD markings on the old unit.
- Inspect the box. Clean dust. Check wire condition. Measure available space against box fill rules (NEC 314.16): roughly 2 cubic inches per device plus allowances for wires and clamps. Overcrowded boxes overheat.
- Prepare the new GFCI. Strip wires to about ½ inch if needed (use the gauge on the yoke). Loosen terminal screws.
- Connect the wires (detailed in next section). Start with LINE.
- Fold wires neatly and push the receptacle back into the box. Avoid pinching. Tighten mounting screws evenly.
- Attach the new faceplate. Do not overtighten.
- Restore power at the breaker.
GFCI Wiring Explained (Line vs Load)
This is where most mistakes happen.
LINE terminals receive incoming power from the breaker. LOAD terminals protect downstream outlets on the same circuit.
Identify LINE: Use the voltage tester (with breaker off initially, then on briefly if safe) or check the old photos. The cable with constant power when upstream breakers are on is LINE.
Standard connections:
- Black (hot) to brass screw (LINE or LOAD)
- White (neutral) to silver screw (LINE or LOAD)
- Bare/green ground to green screw
If the circuit has downstream outlets, connect those wires to LOAD. If it protects only this location, leave LOAD empty (cover with tape or plastic tab if provided).
Use back-wire holes if available for solid conductors, but tighten screw terminals for best long-term contact. Wrap connections with electrical tape for vibration resistance.
Wrong LINE/LOAD swap means downstream protection fails. The GFCI may not reset or will trip under normal load.
Common Mistakes to Avoid
Here are the ones we see most often on service calls.
- Reversing LINE and LOAD. Downstream outlets lose protection; GFCI may not function. Always double-check with photos and tester.
- Skipping double power verification. Non-contact tester plus plug-in test. One alone can mislead.
- Loose ground connection. GFCI won’t reset without solid ground path.
- Overcrowded box. Leads to heat buildup and failures. Calculate fill if adding wires.
- Using cheap, non-listed units. They fail UL 943 standards and create liability.
- No final test. Plug in tester, press TEST (lights off), RESET (lights back).
- Ignoring downstream faults. If new GFCI trips immediately, disconnect LOAD wires one by one to isolate.
Fix these early to avoid callbacks.
How to Choose a Reliable GFCI Outlet
Pick based on location and circuit.
Must-have: UL or ETL listing to UL 943 (Class A, 5 mA trip). Match 15 A or 20 A to breaker/wire gauge.
Key features for North American jobs:
- Tamper-resistant (TR) shutters – required in most dwellings since 2008 NEC.
- LED indicator – shows status at a glance.
- Back-wire + screw terminals – speeds install, reliable contact.
Location-specific:
- Kitchen/bathroom: Standard TR with LED.
- Outdoor: Weather-resistant (WR) body + in-use waterproof cover.
- HVAC/outdoor equipment (post-Sept 2026): Look for HF-rated markings if variable-speed/inverter load to prevent nuisance trips.
Faith Electric GFCIs carry UL/ETL certification, TR design, LED indicators, and options for WR models. We build them for contractors who need consistent performance in kitchens, bathrooms, garages, and outdoors. Our full line includes matching AFCI, USB, switches, and wall plates.
Conclusion
Replacing a GFCI restores critical shock protection with minimal tools and time. Follow the steps, verify wiring twice, test thoroughly, and use listed products. Monthly TEST button checks keep it reliable long-term.
For projects in North America, Faith Electric supplies UL/ETL GFCI receptacles and complete wall solutions trusted by electricians and distributors. Reach out if you need spec sheets, samples, or bulk pricing.
FAQs
How do I know the GFCI is bad?
No reset, weak TEST/RESET click, LED off, or constant tripping without load.
Can I DIY this? When to call a pro?
Yes for simple swaps if you follow safety steps. Call for old wiring, aluminum conductors, crowded boxes, or local permit requirements.
What’s the difference between LINE and LOAD?
LINE brings power in; LOAD extends protection downstream. Swap them and downstream loses GFCI coverage.
New GFCI won’t reset or trips right away?
Check LINE/LOAD, ground connection, downstream faults. Disconnect LOAD wires to test isolated.
Can I put a GFCI on a refrigerator circuit?
Avoid it. Refrigerators cause nuisance trips from compressor startup.
What changed in 2026 NEC for outdoor GFCI?
Outdoor outlets now require GFCI up to 60 A. HVAC exception ends Sept 1, 2026; use HF-rated for variable-speed units.
Rough cost to replace one?
DIY: $10-25 for the device. Professional: $130-300 average, depending on region and complexity.

![Top 7 GFCI Outlet Manufacturers in USA [2026 Guide]](https://www.faithelectricm.com/wp-content/uploads/2026/06/图片17.png)